[This is a sponsored post.]
Mom a la mode completed one of her very first DIY Home projects. And actually enjoyed it.
Did you feel the tectonic shift in the Earth??
Those who know me well know that “crafting” and “DIY-ing” are hardly my fortes. This mama can whip up dinner with whatever’s in her pantry and refrigerator without breaking a sweat. But ask me to make something creative out of an egg carton, yarn and some paste and I very well might break into hives.
Until now.
Carpe diem, folks. Looks like mom a la mode is a little bit crafty after all. And it’s thanks, in part, to my little collaboration with Disney Paint by Glidden and Walmart.
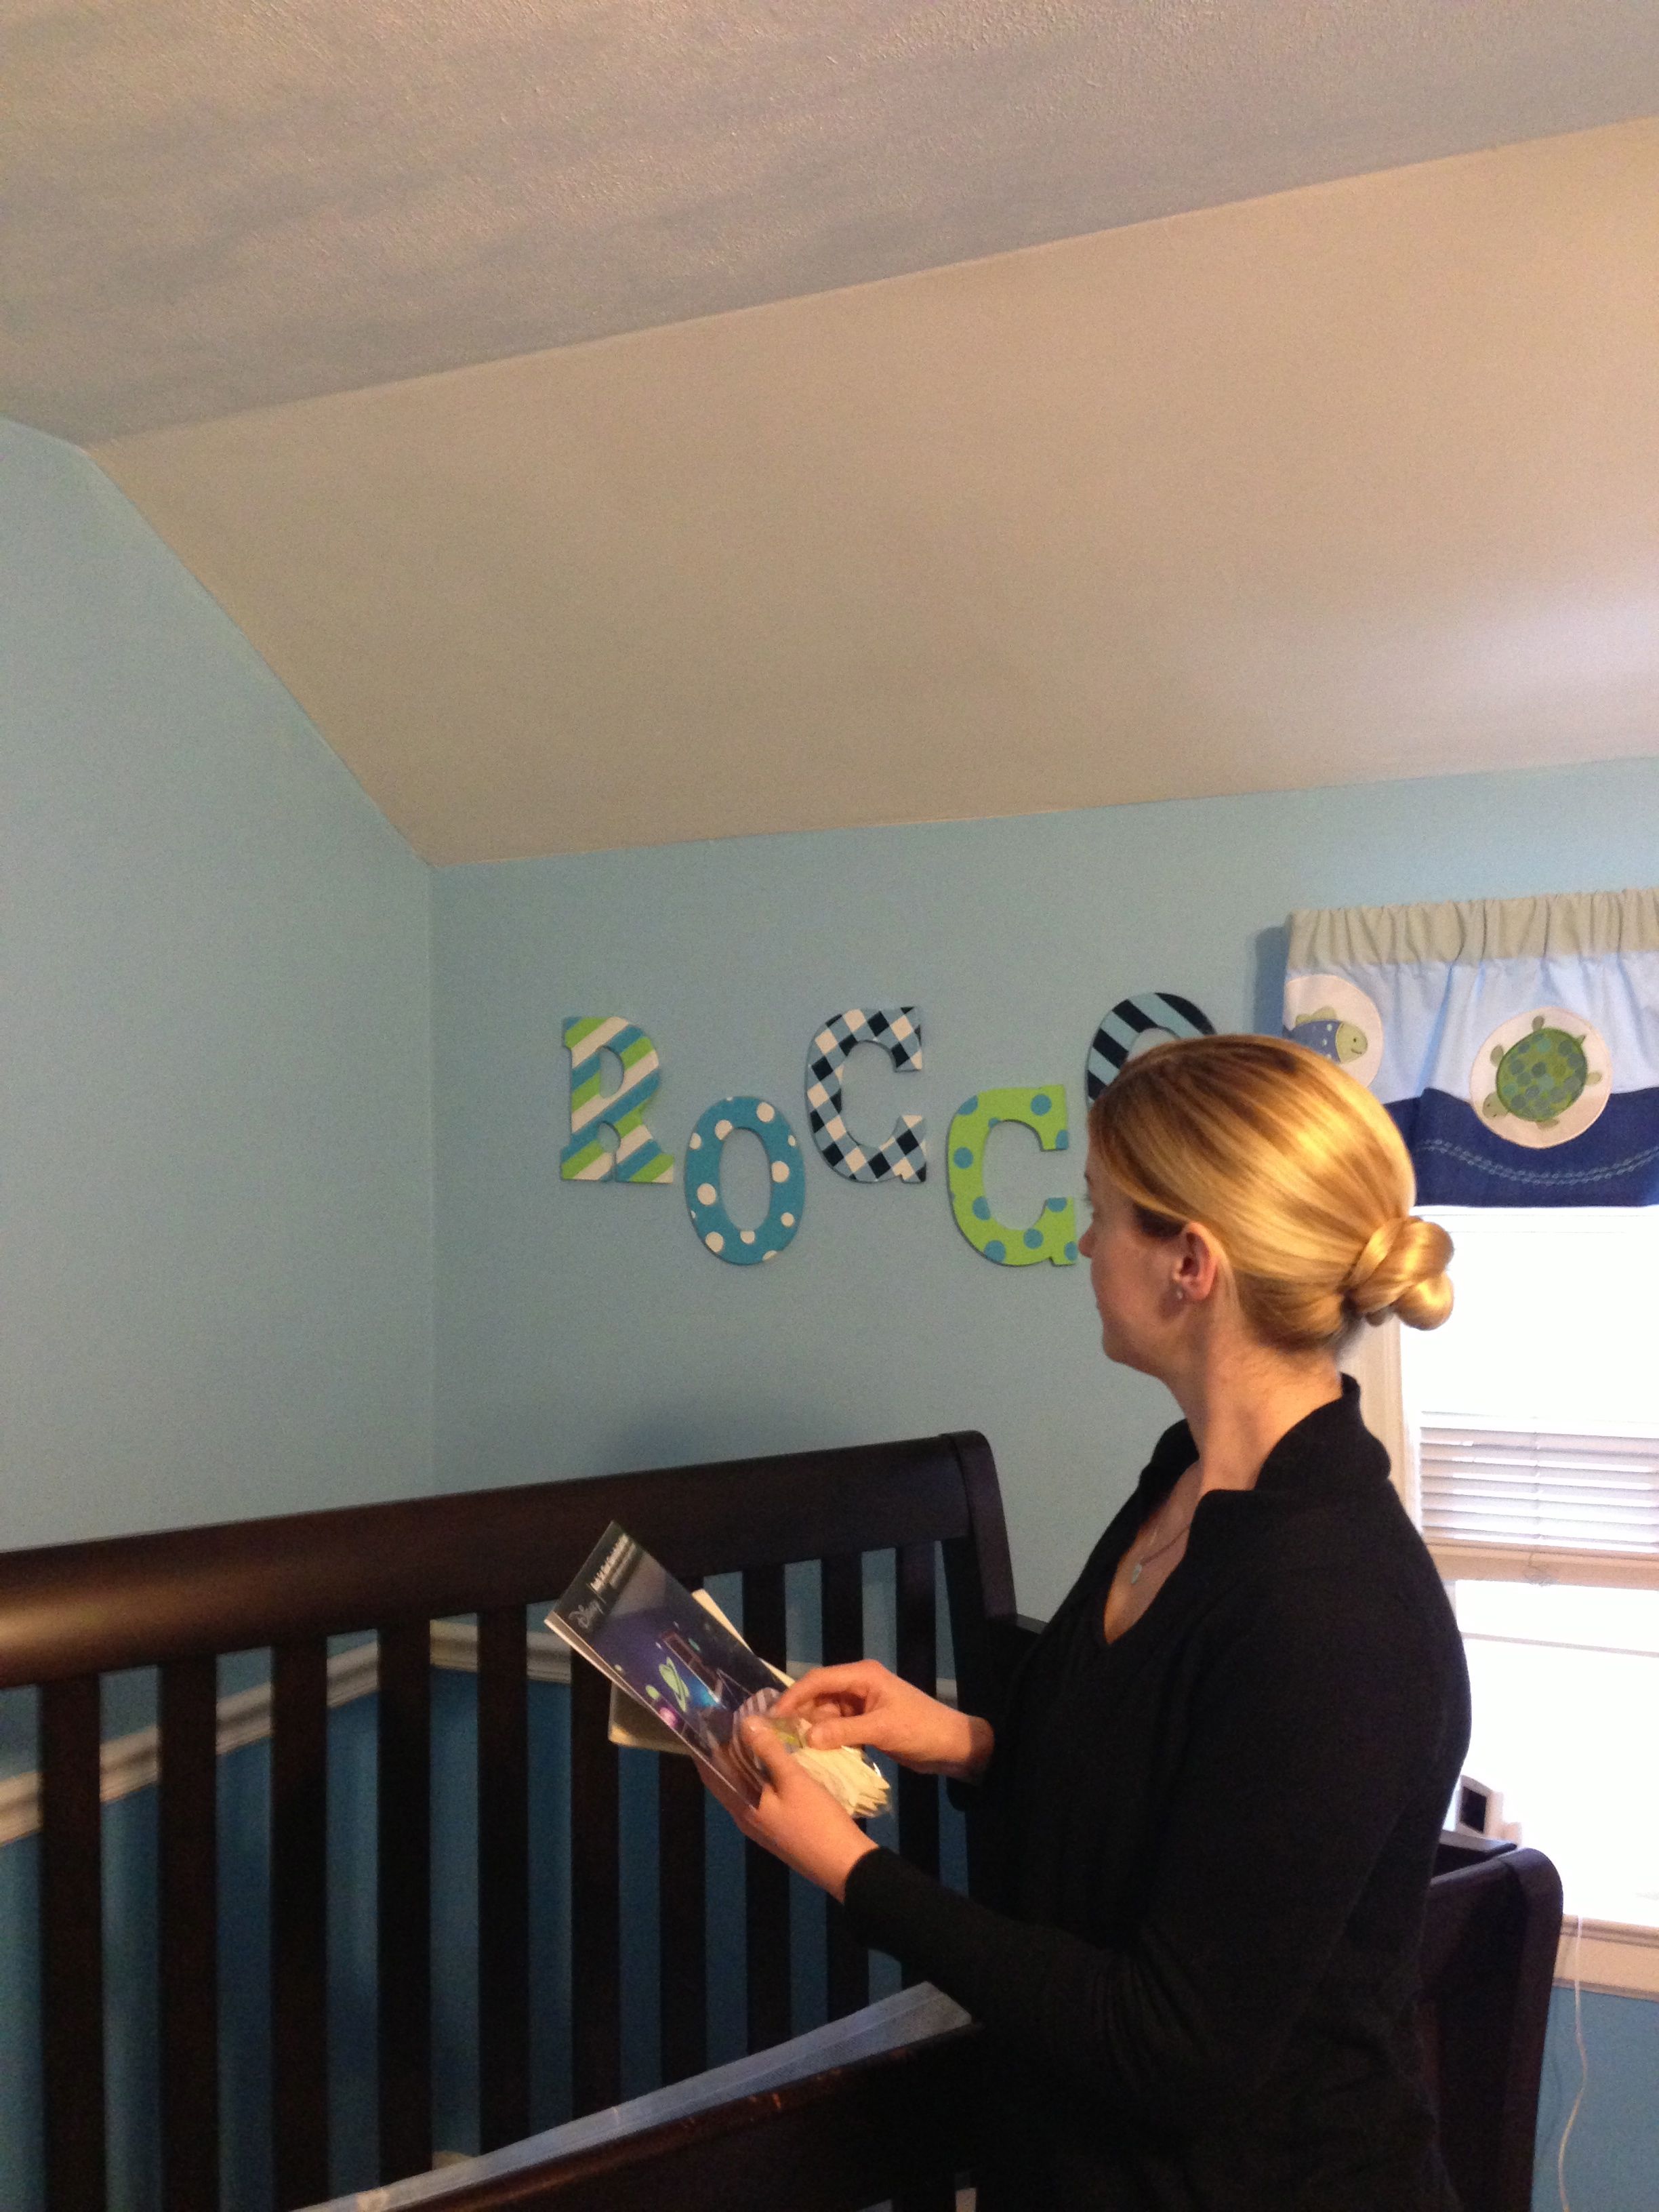
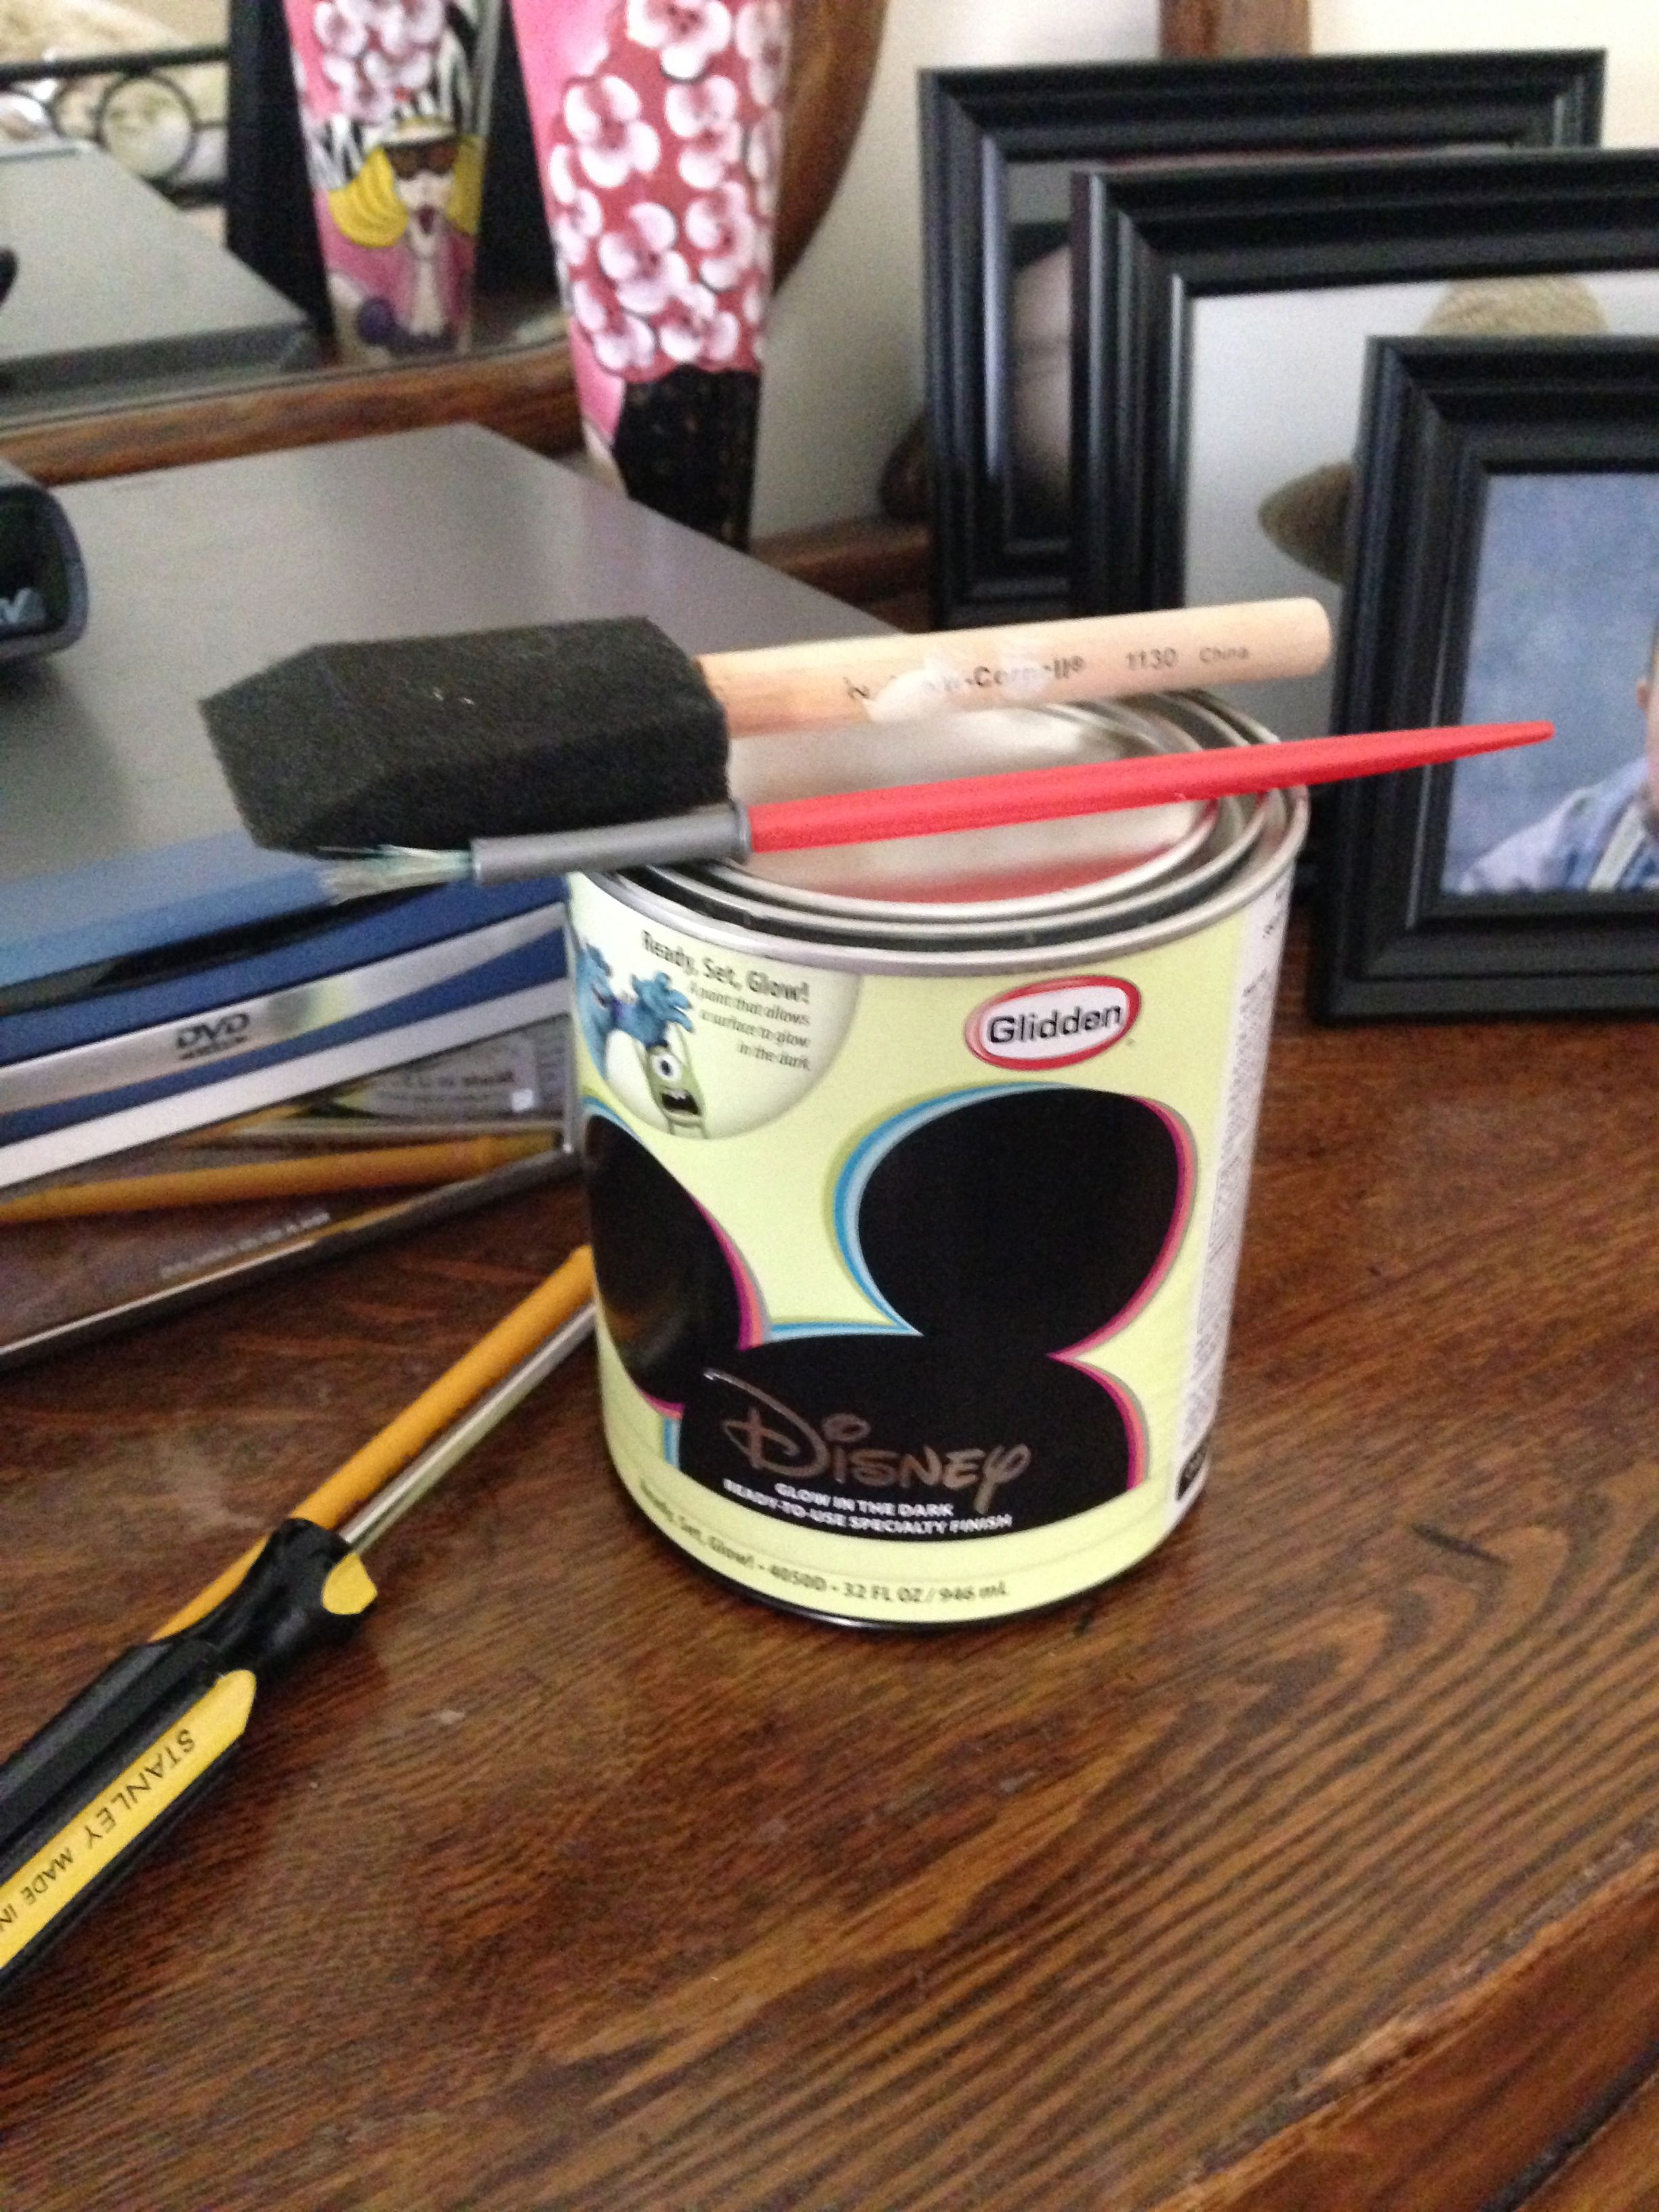
You might remember from a previous post that I am looking to begin the transformation of my son’s room from a nursery to a big boy room. He’s almost 3 and able to express his likes and wants. Roc especially loves to gaze up at his galaxy (produced by a toy turtle projector) each night at bedtime, which is what inspired me to try out Disney Paint’s Ready, Set Glow! Glow in the Dark Paint specialty finish as part of my work with their Disney Paint Moms program.
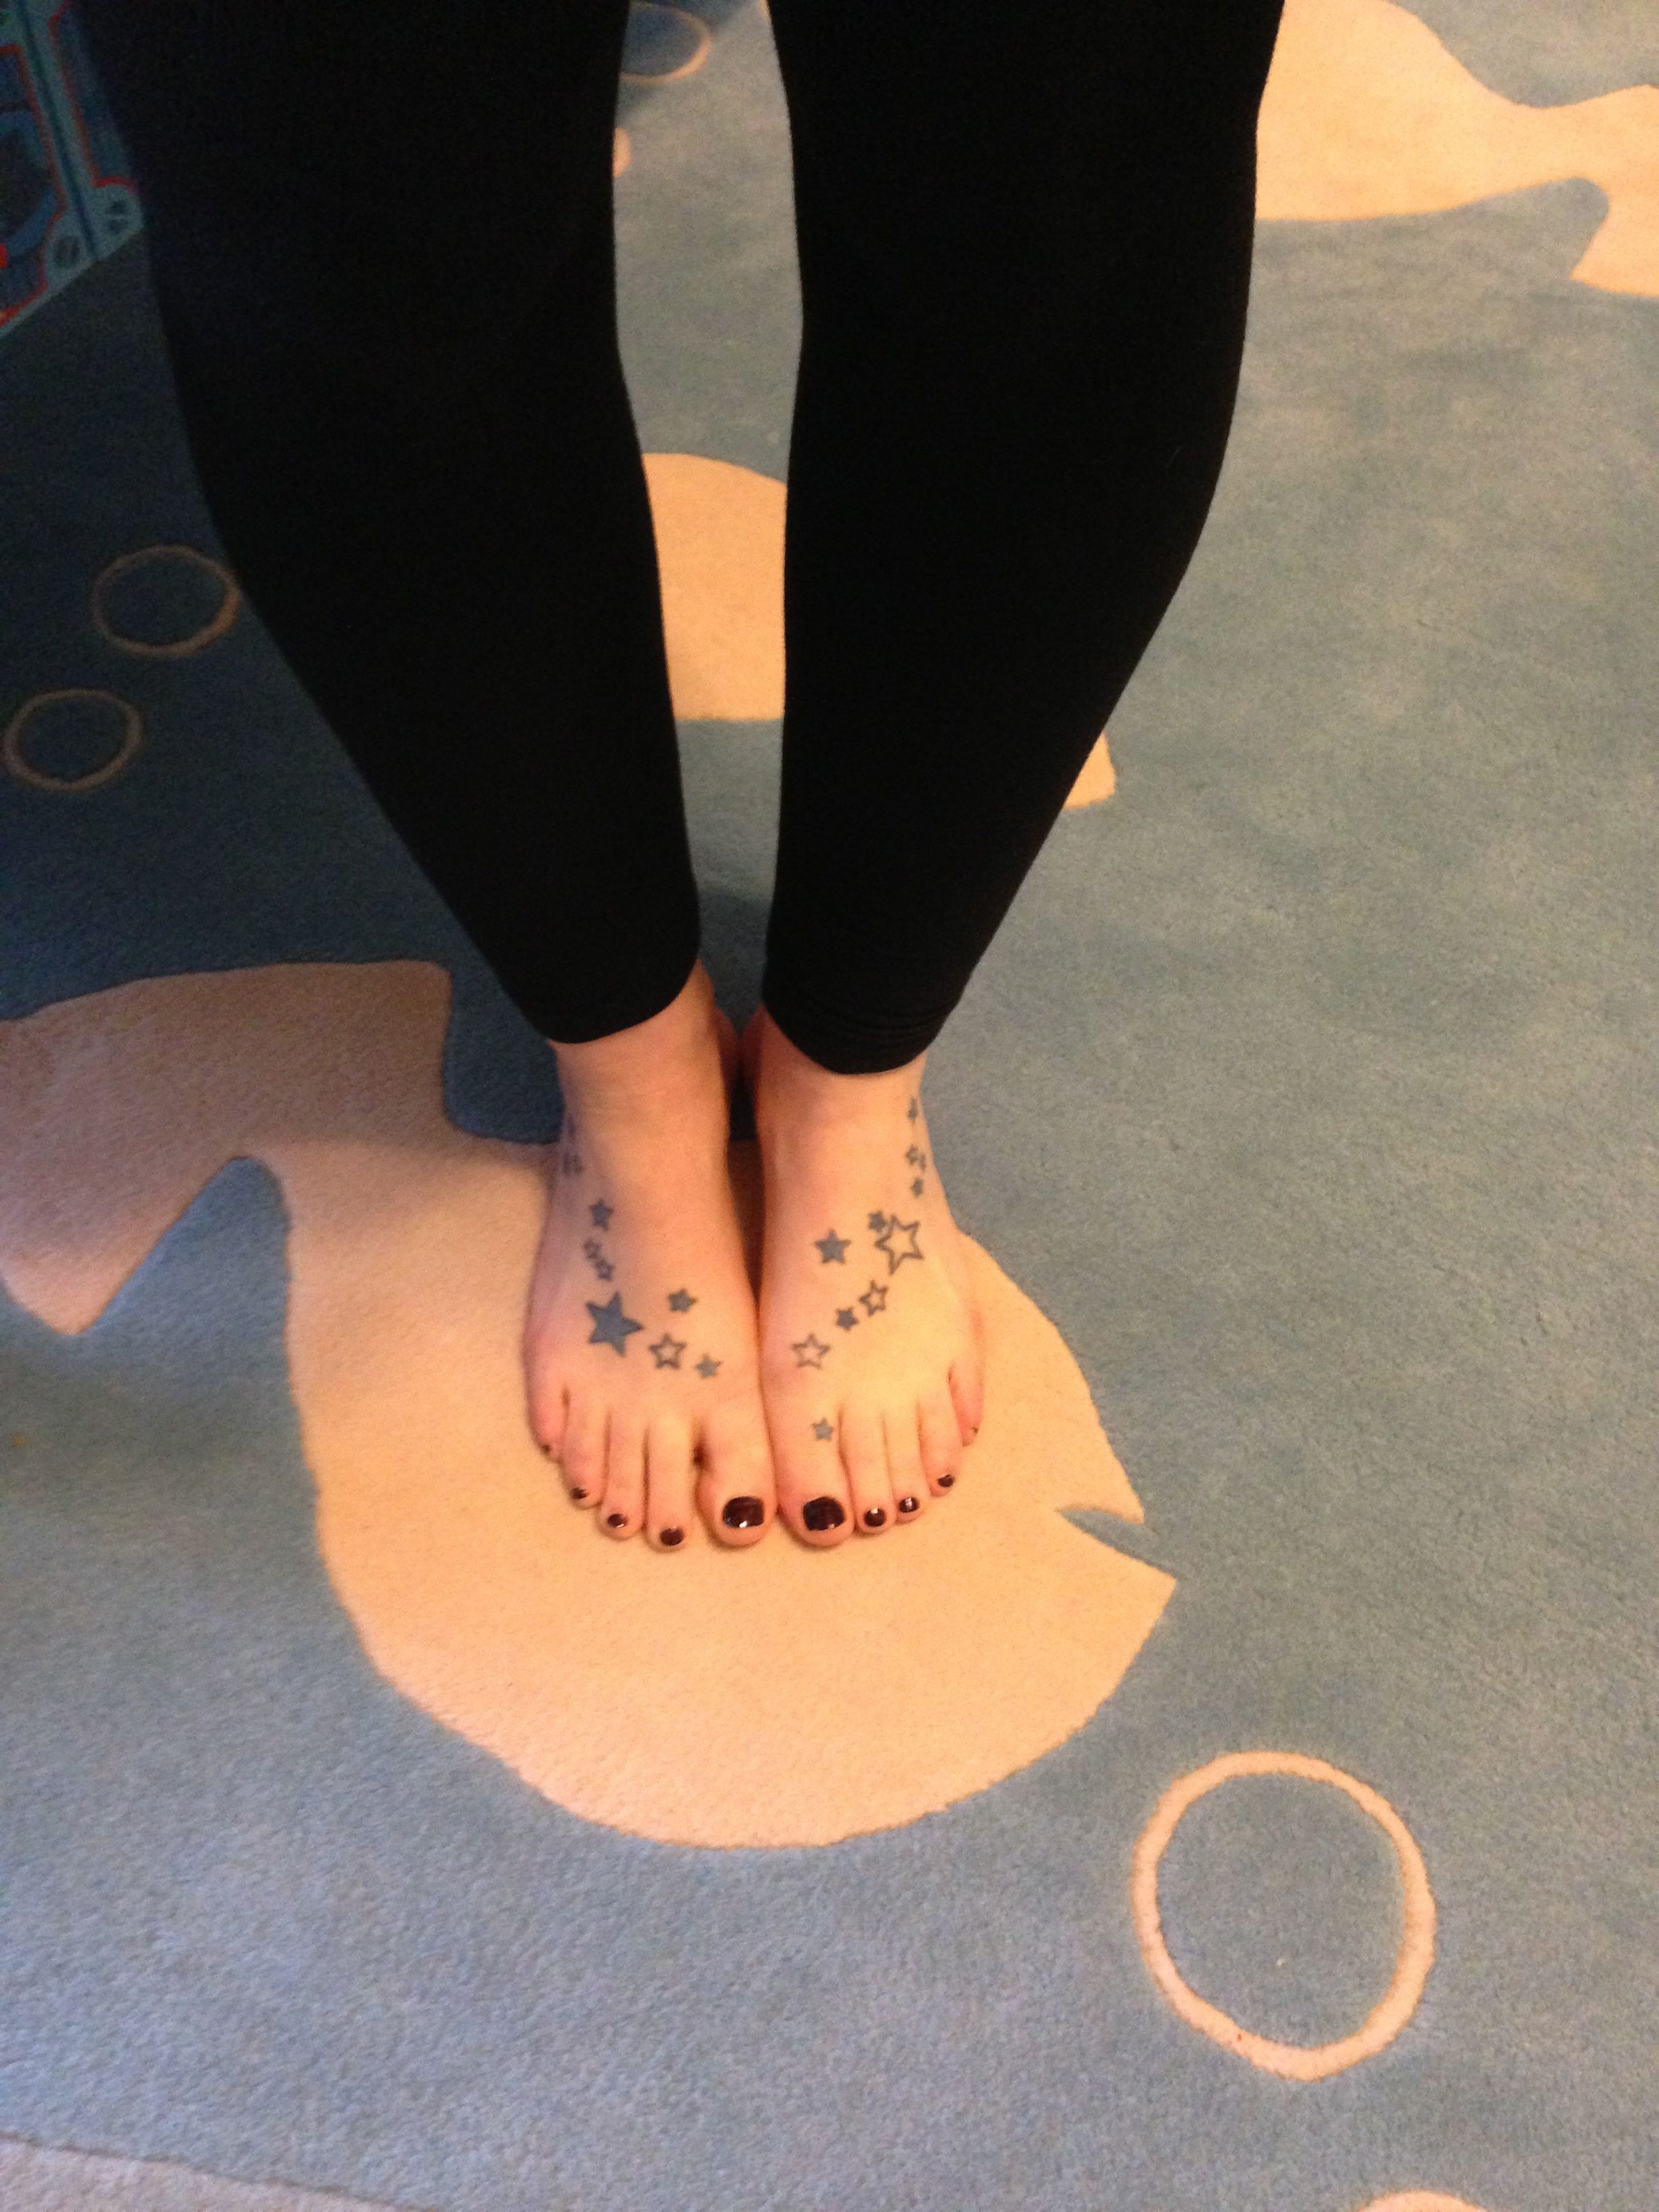
Thanks to a little help from my sister-in-law, Christen, I was able to put together my plan for Roc’s room. Christen is creative and artistic and also happens to have a tattoo on her feet of the exact pattern of stars I envisioned for Roc’s bedroom wall!
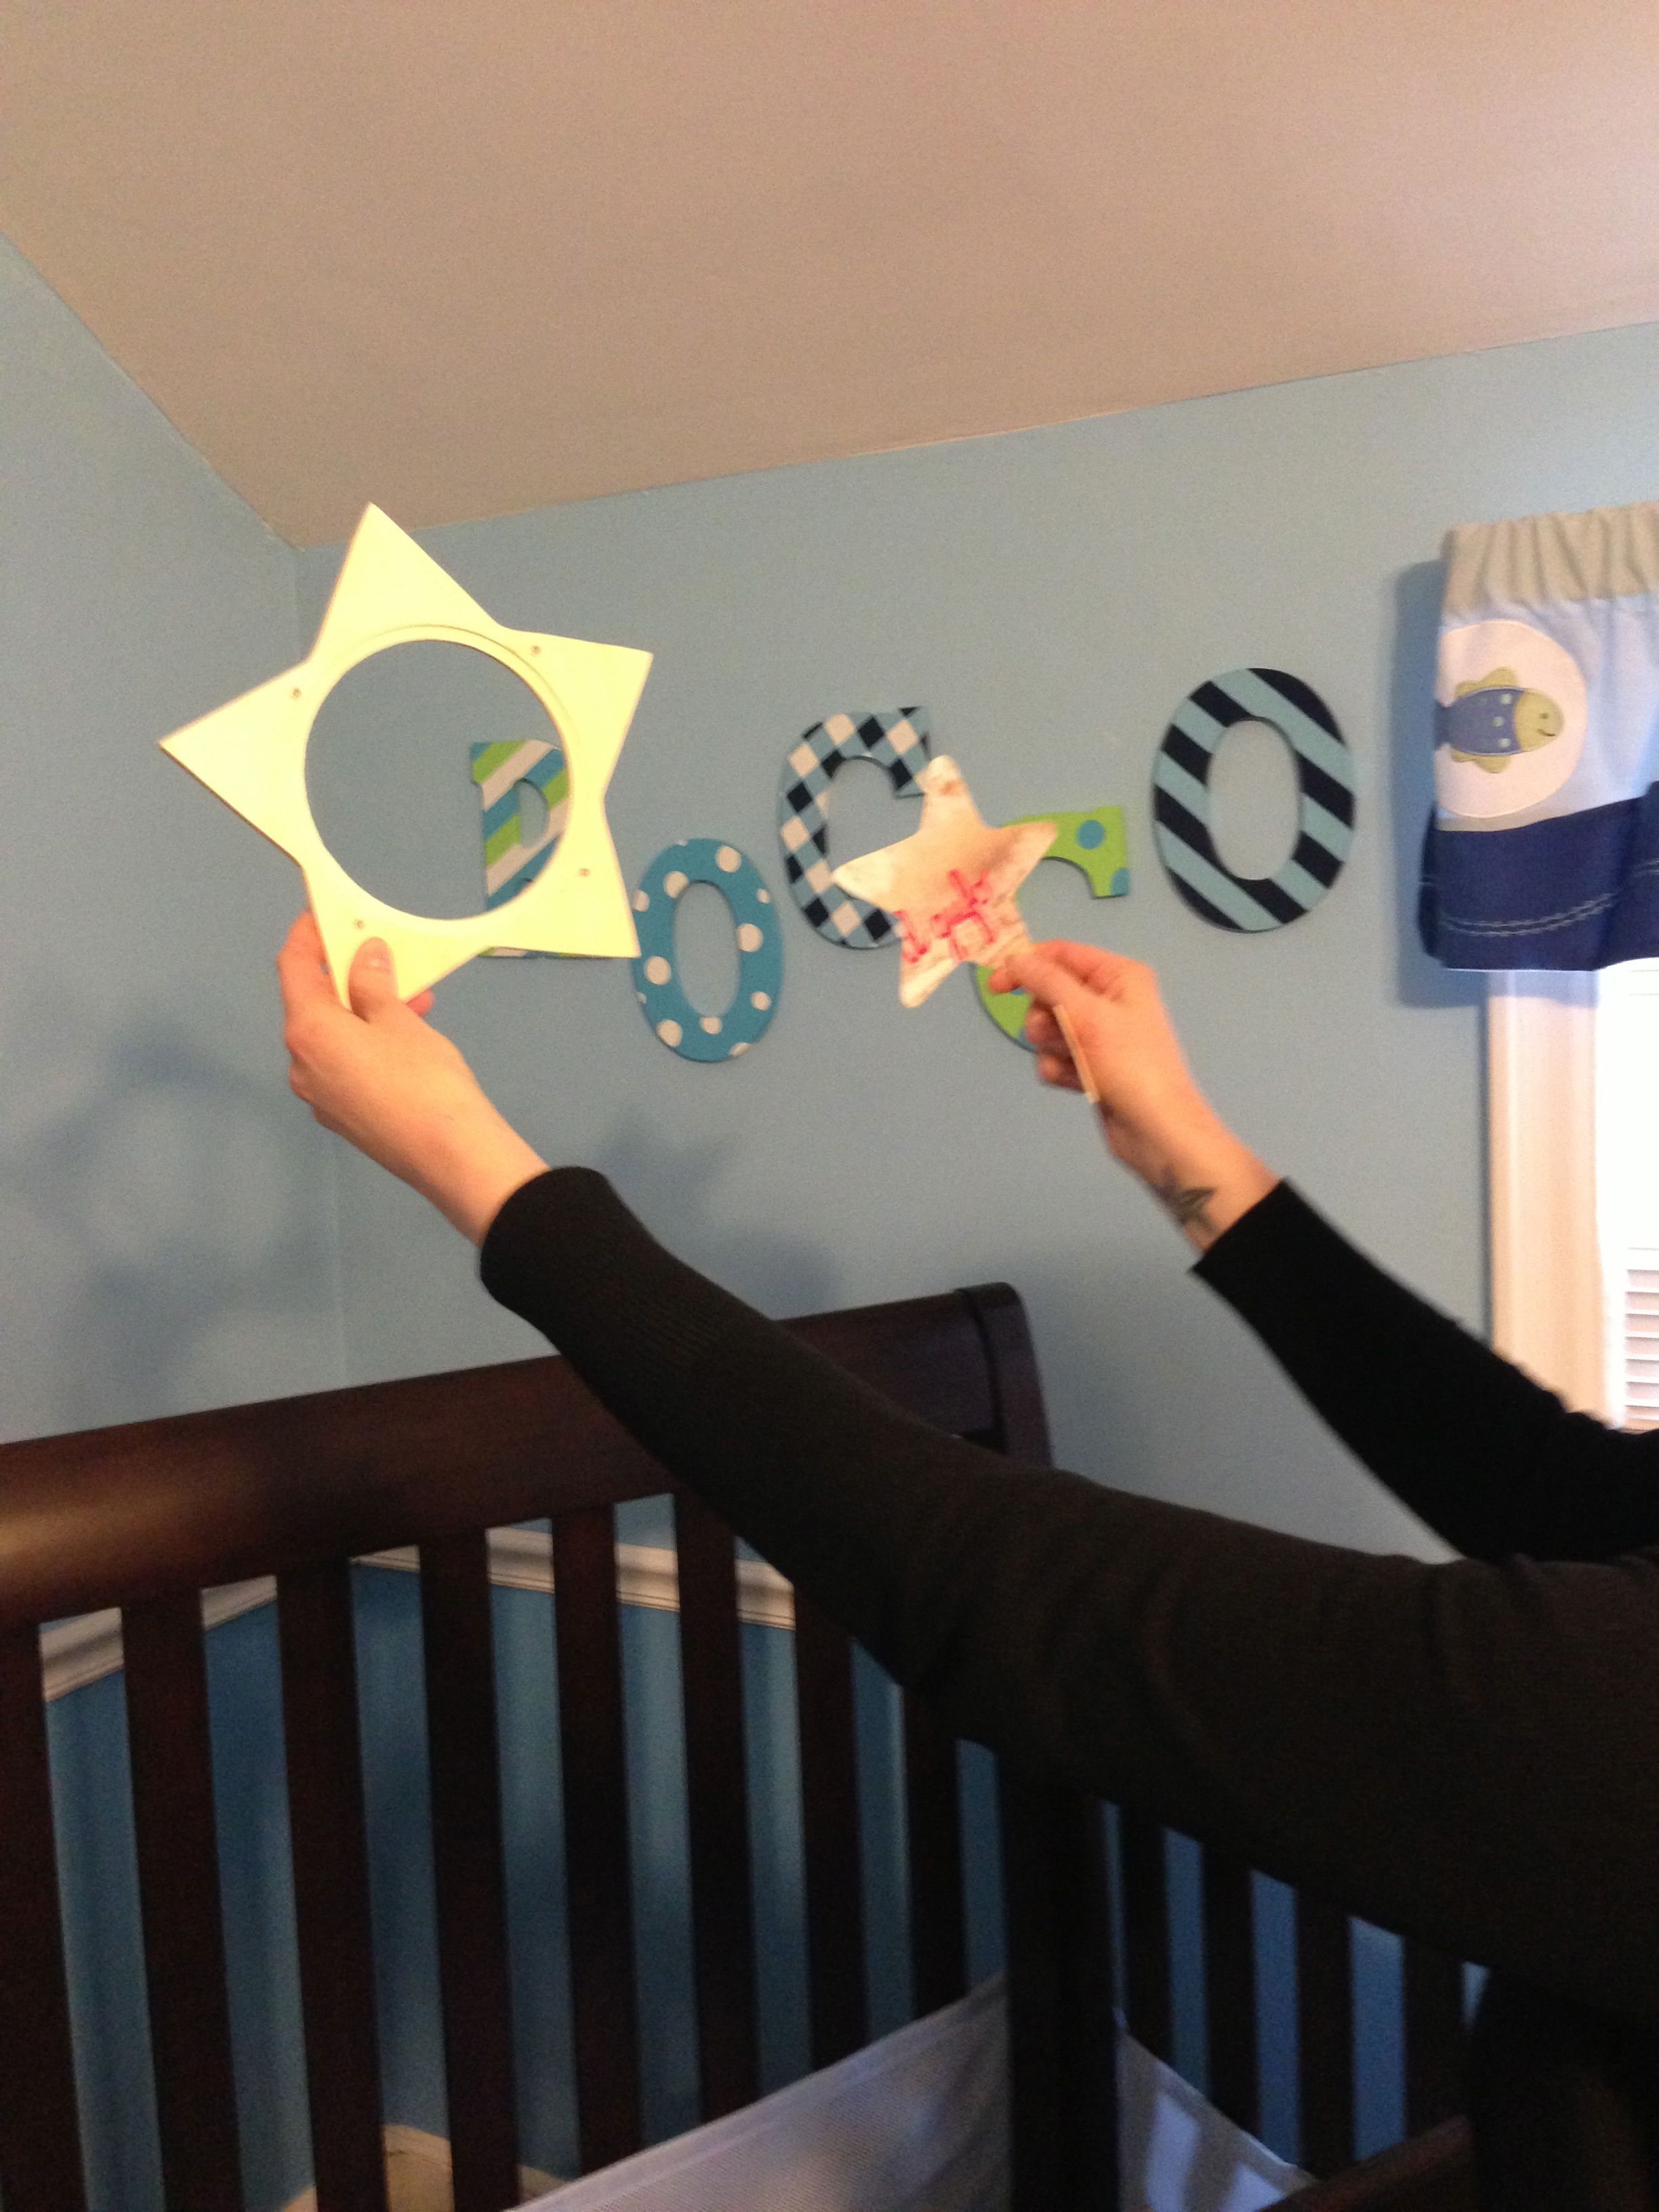
I already had purchased the paint and some wooden craft stars from my local Walmart. I just needed Christen to guide me on how and where to place them on Roc’s wall. She even gave me an idea to include some mini “planets” within our little glow-in-the-dark galaxy.
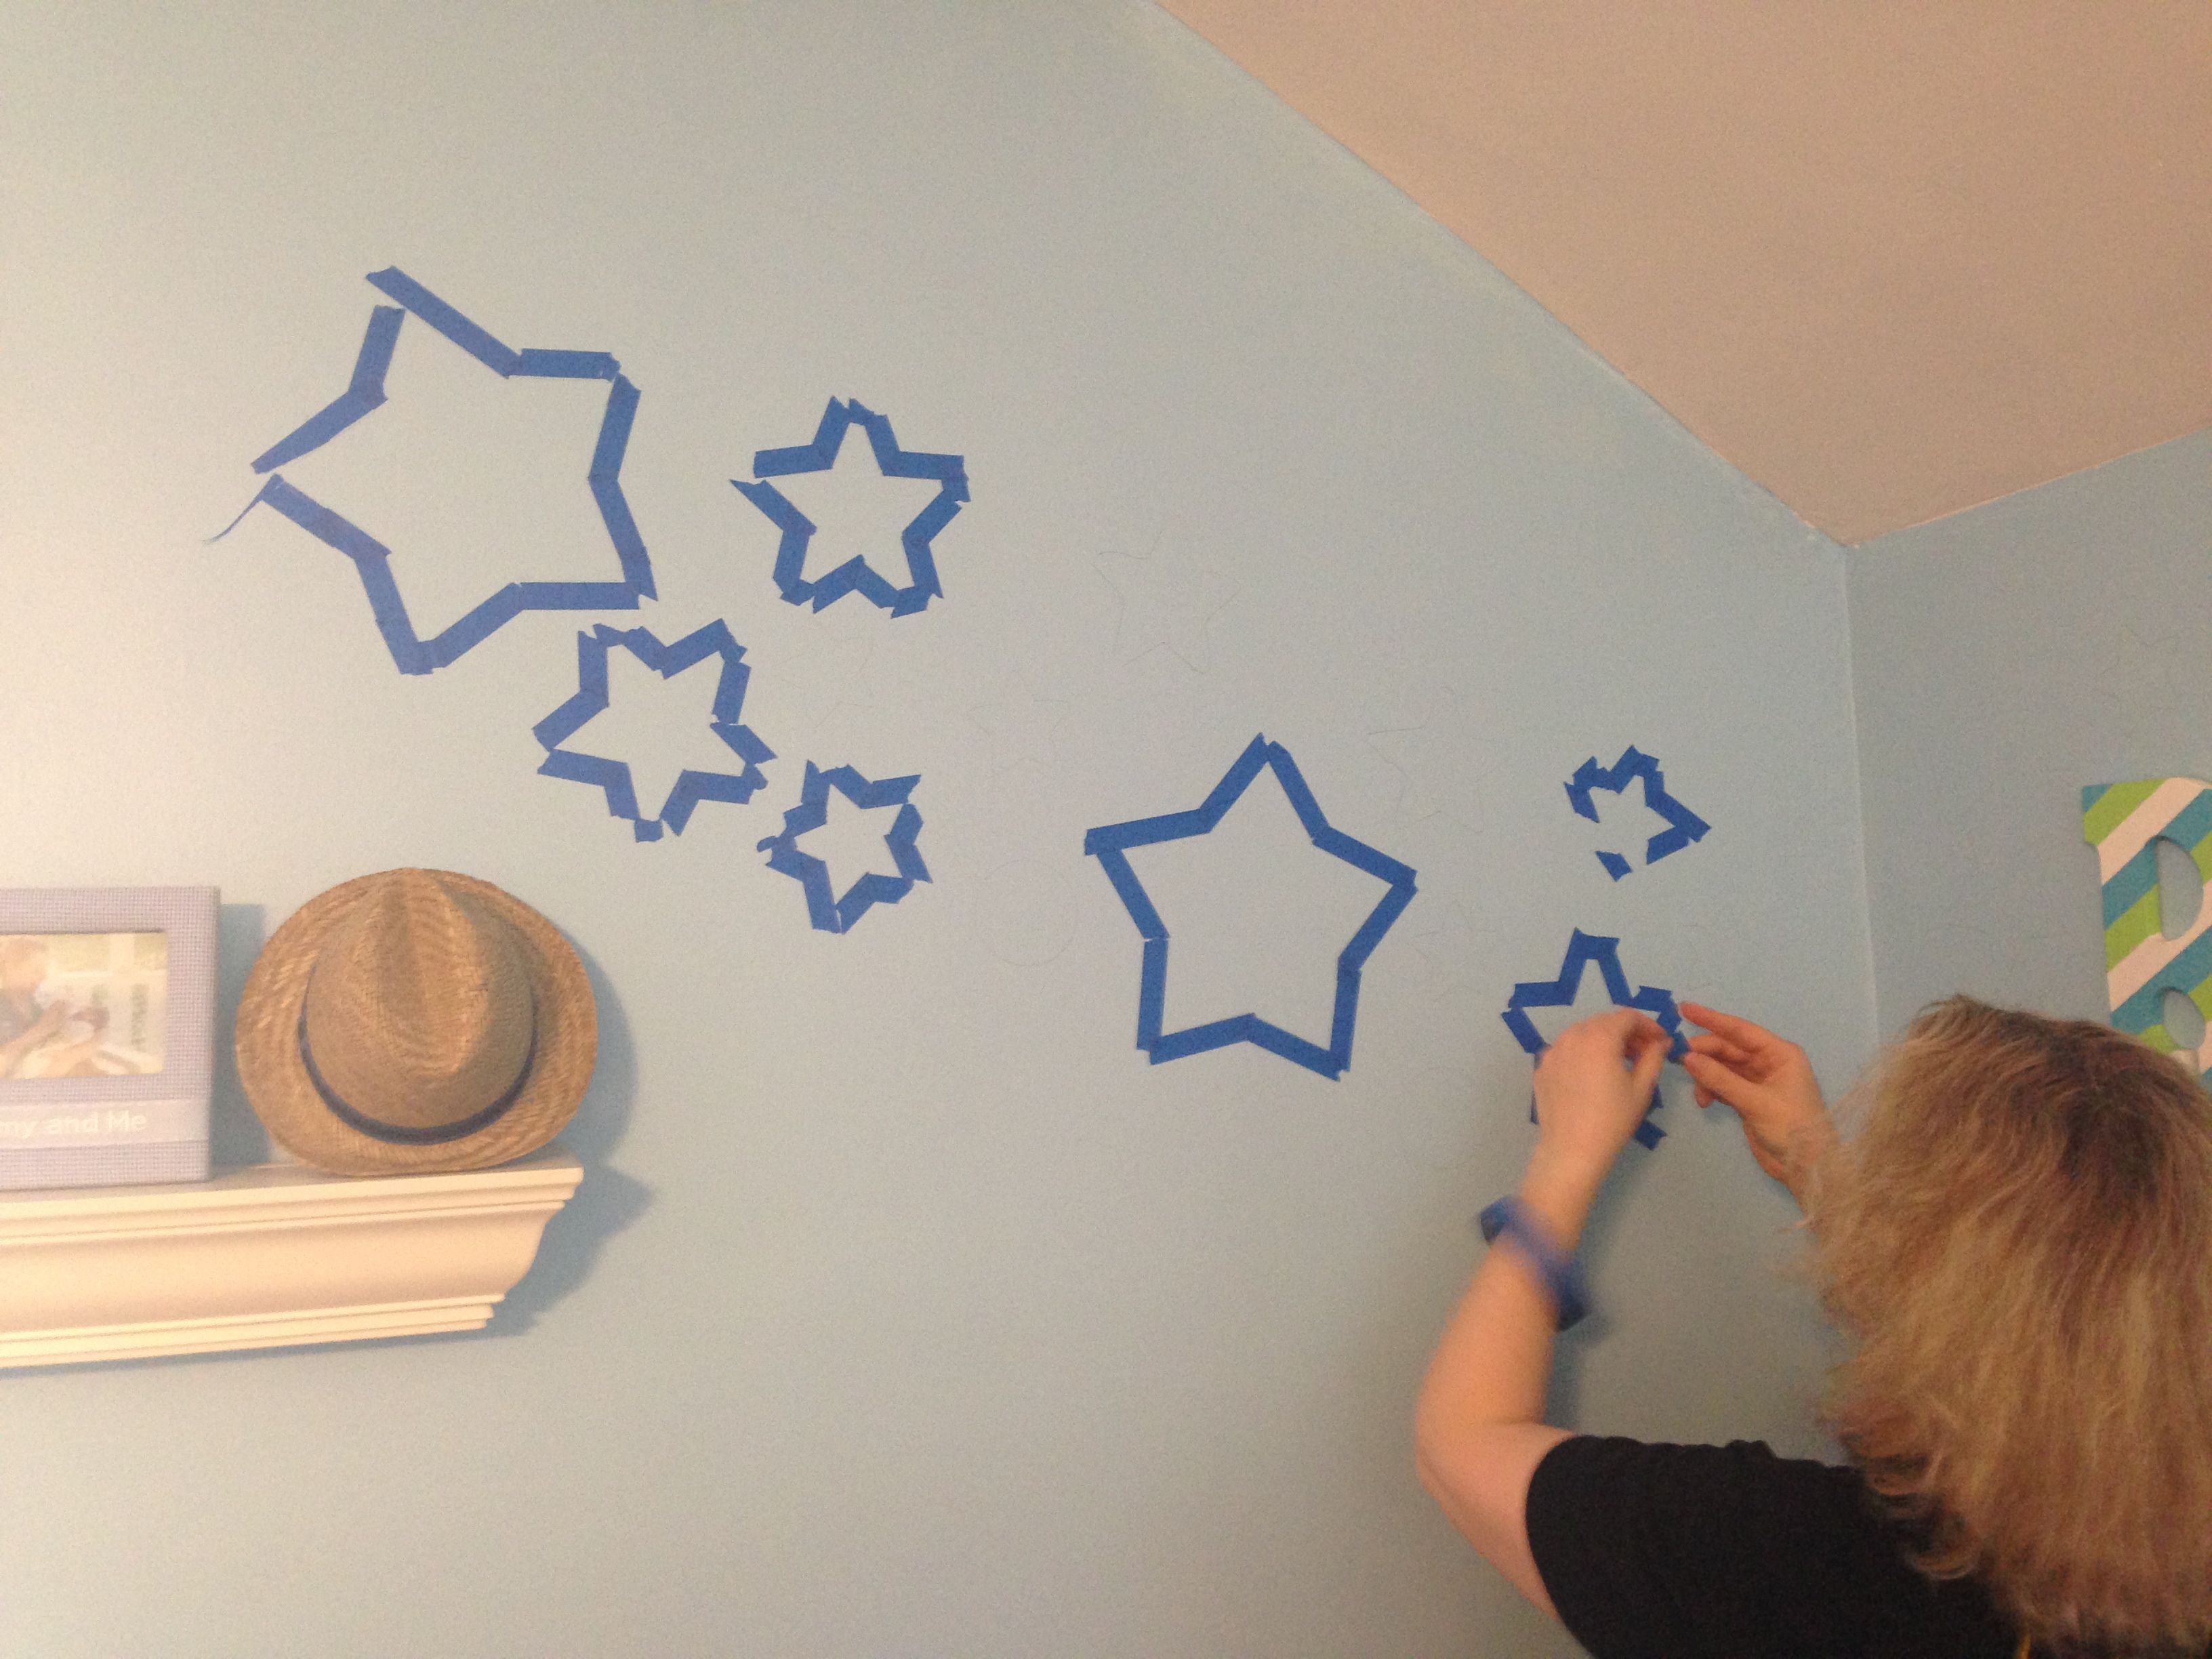
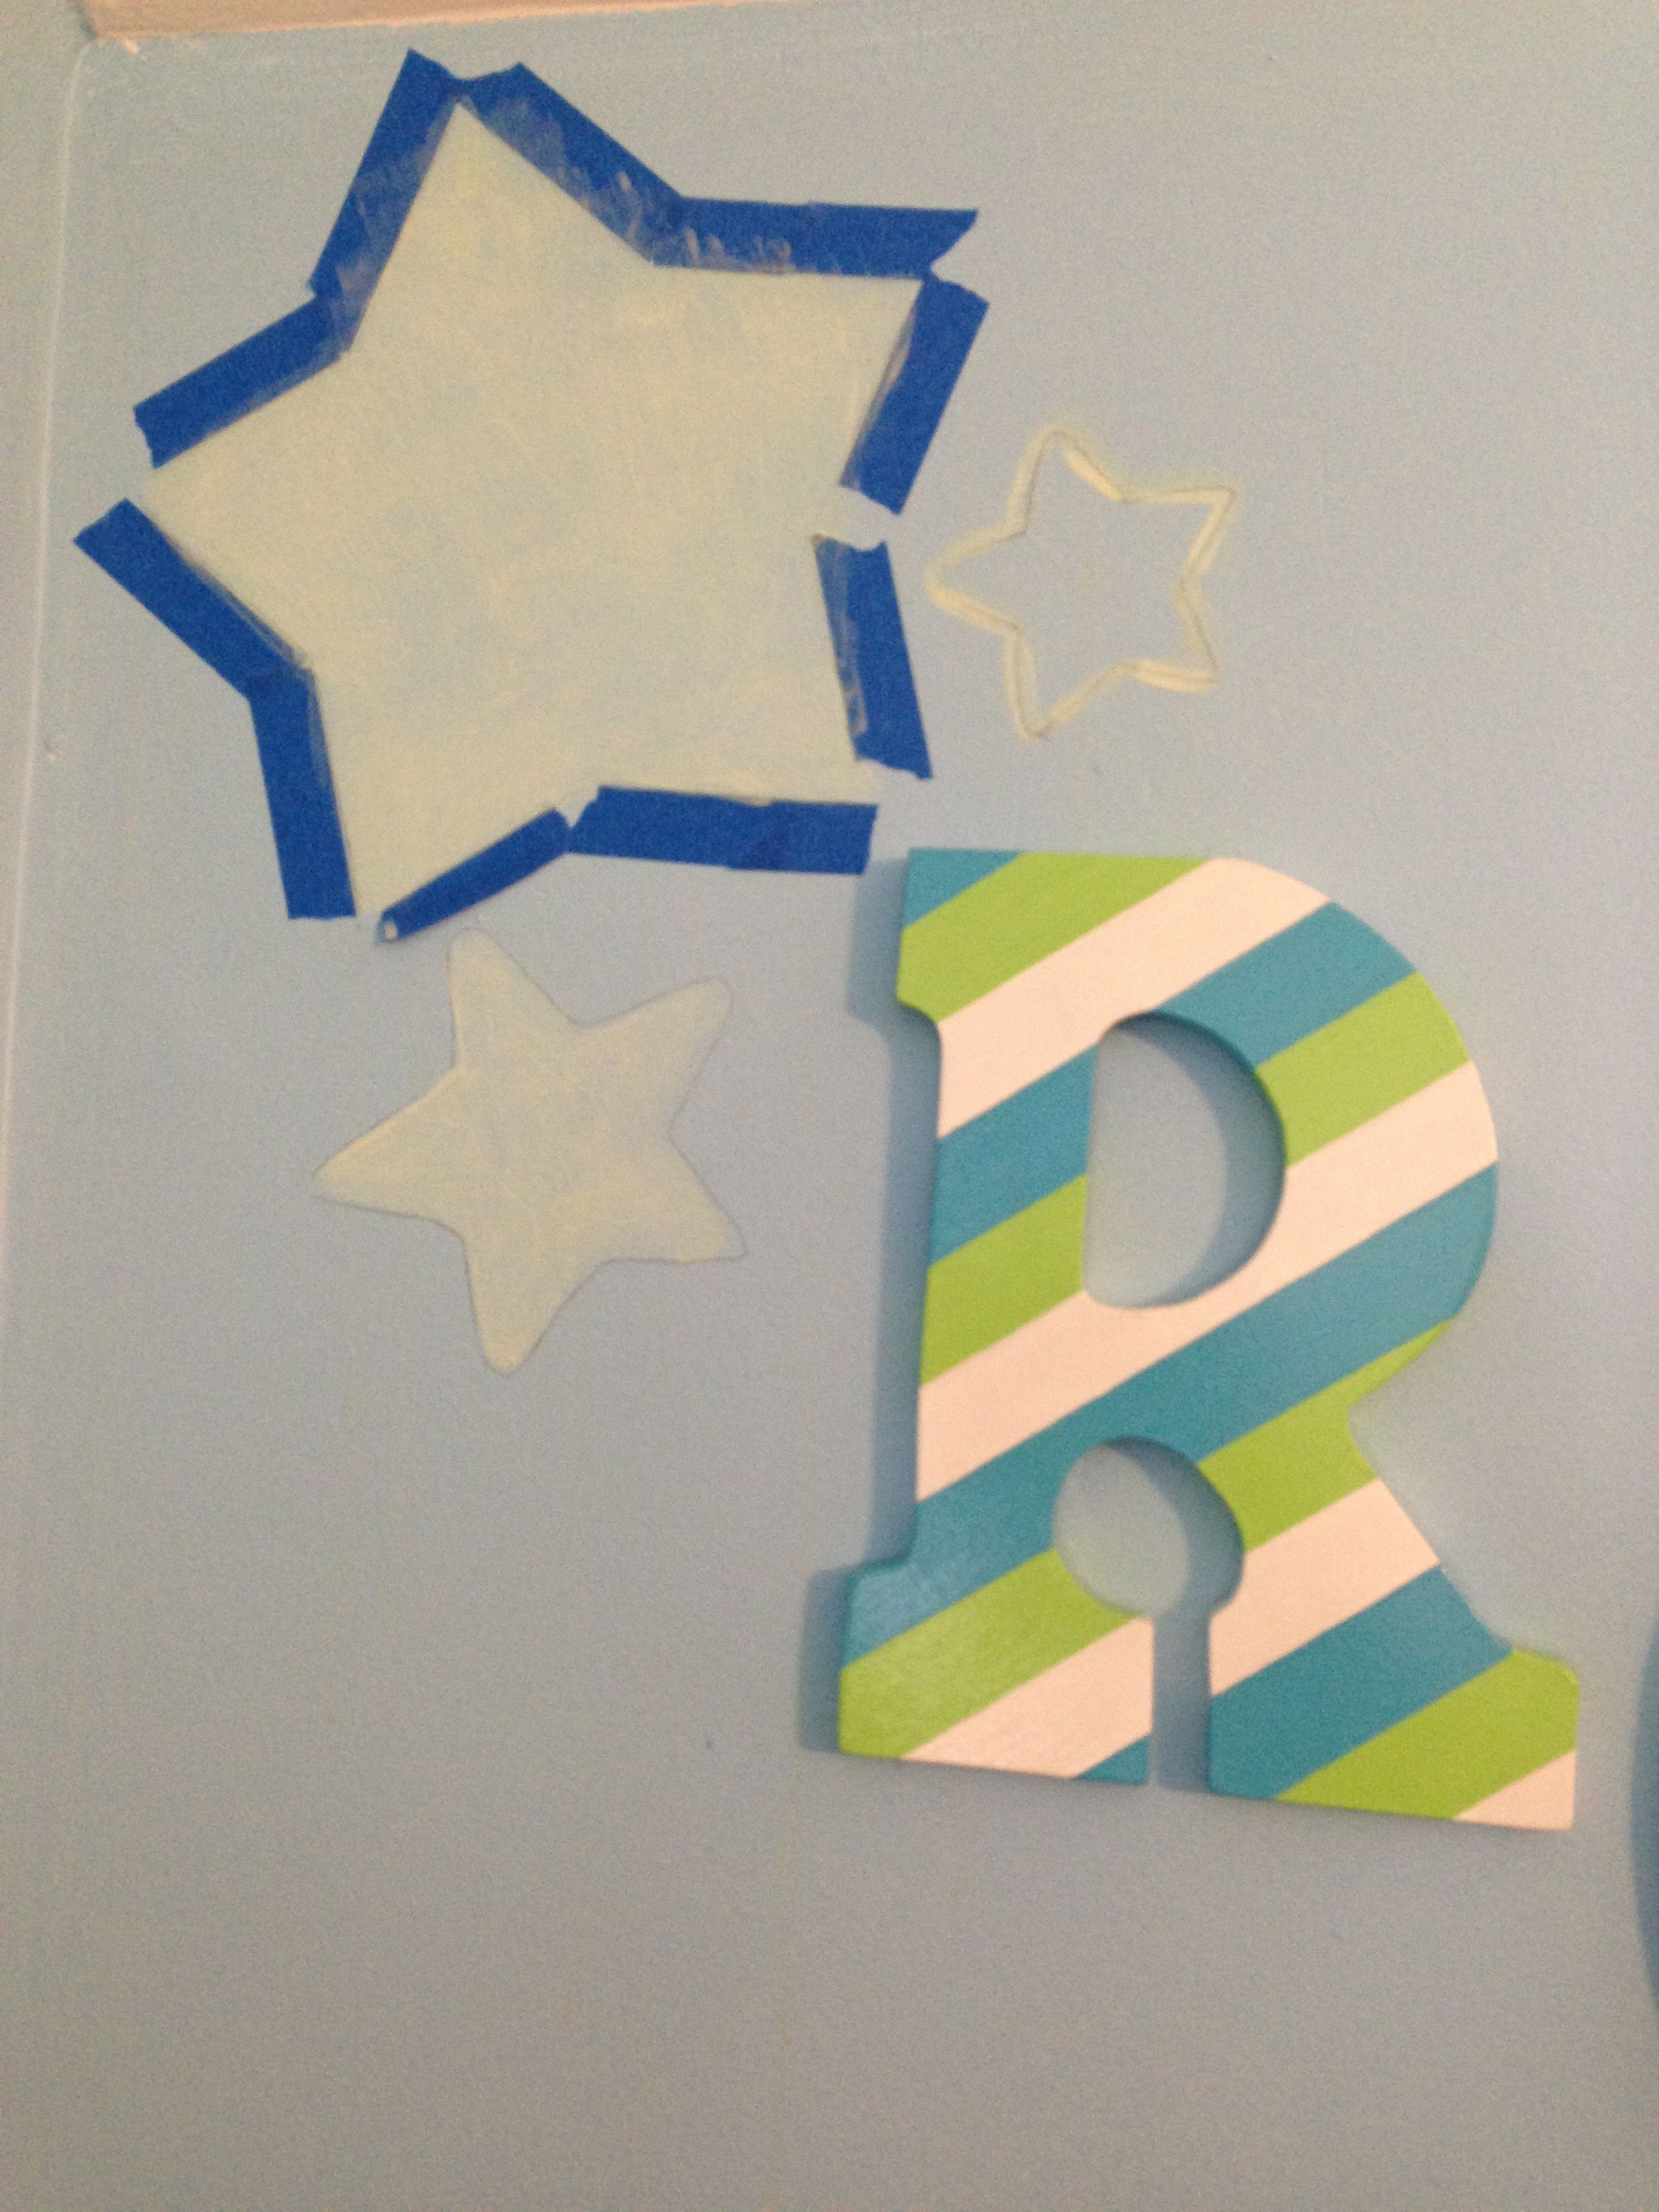
So I first traced the stars onto the wall with pencil, and later taped around the majority of them with blue tape. I left a few to be done free-hand, and some I wanted to just trace the outline of the star in the Ready, Set, Glow! finish.
I also checked out the online video tutorial and room gallery on the Disney Paint site for more ideas, which were both super helpful, prior to painting.
And then it was time to paint! I’m happy to report that this was easier (and a whole lot more enjoyable!) than I imagined it to be. I used a foam brush for the larger stars, and a firm bristled thin paintbrush for the free-hand stars and mini planets.
Per the paint instructions, I allowed my first coat to dry for 4 hours before recoating, as I wanted to ensure that the final product had a dramatic glow-in-the-dark effect.
Now I will share that much like the first pancake in a pan, my first star didn’t come out the best, but once I got the hang of it, I was ready to add stars allover Roc’s room! The paint really was a breeze to apply, going on smoothly, and perhaps the best part for me was that the paint practically had no odor, and is non-VOC. I literally painted, opened the window a tiny crack, and an hour later, my son was in his crib taking a nap without concern.
After the second coat on the light blue walls, I could see the Glow in the Dark Paint specialty finish coming through and golly was I psyched!
The keys to my DIY Home project success were:
- Planning & Inspiration: I broke the project up into manageable chunks – shopping for supplies on one day, planning out the theme over some time, tracing and taping one day, and then painting on another. (One can easily do this all in one day but my hectic schedule did not allow for that.)
- Advice from the experts: Between the “How to” videos on DisneyPaint.com and consulting with Christen on the placement of the stars, I felt confident to embark on my project.
- Using the right tools: The blue painter’s tape was an asset, as was having two different types of brush: the foam brush and a thin, firm-bristled paintbrush.
By dividing my paint project into small, manageable sections, I found the experience to be relaxing, gratifying and highly enjoyable. And of course, the fact that the Disney Paint was a dream to apply and didn’t smell bad was a major plus.
My son has been enjoying his stars and I’m now planning our room reveal to some of his little friends in our neighborhood as part of Disney Paint’s “Magic PJ Party.” Stay tuned to see the finished product!
oxox
mom a la mode
{Compensation and products for review were provided by Glidden via MomTrends. The opinions expressed herein are those of the author and are not indicative of the opinions of Glidden.}
Can’t wait to see the finished pictures!
Thank you! It was such a fun party and unveiling…promise to be posting finished product very soon!!